Making My Chocolate Egg Dispenser
February 25, 2026
This article is available in another language:
中文: 下蛋机器
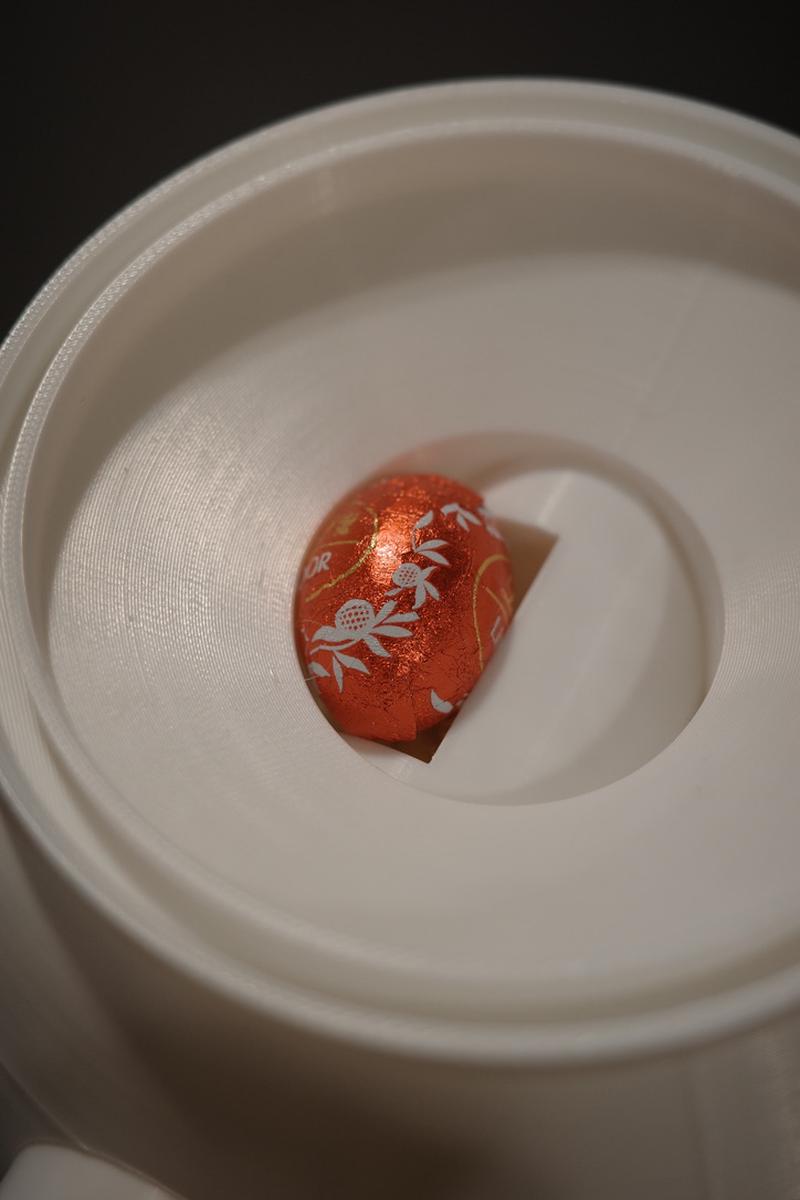
Recently, supermarkets have started selling those Easter chocolate eggs again. For some reason, I suddenly got the random idea to build a candy-dispensing machine, aka, a “candyspenser”. Except that it dispenses chocolate eggs instead of eggs (sorry I really just want to use the word “candyspenser” 😬) Also a perfect excuse to put the lab’s 3D printer to good use.
The concept itself wasn’t too complicated. In short: 3D-print a base, flip an IKEA jar filled with chocolate eggs upside down on top of it, then use a shaft to control the eggs falling out. The first hurdle was figuring out how to print a circular interface with exactly the right dimensions to fit the jar. After some serious detective work on IKEA’s website (their measurements are not accurate!), and a round of caliper measurements, plus some jiggery-pokery…
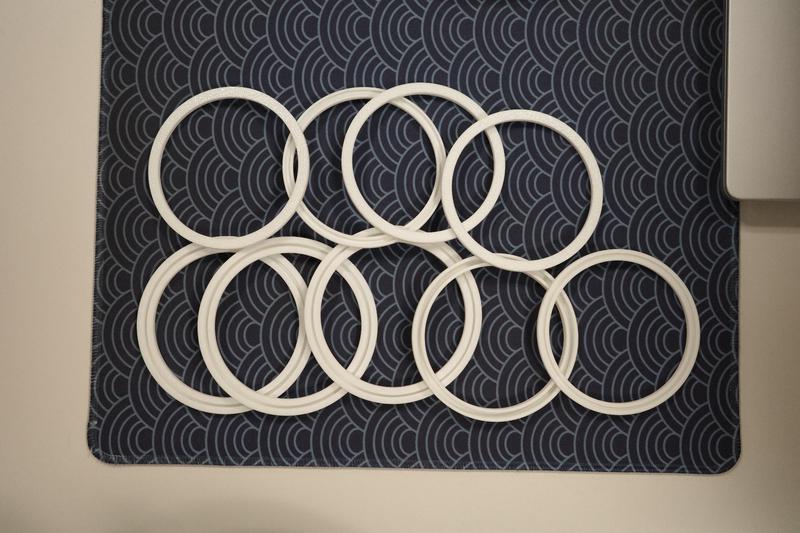
Eventually, I found the correct diameter.
After that, here I finally came to the exciting part.
That is to design the base itself, along with a mechanism that would let the chocolate eggs drop out one at a time.
There are plenty of designs online, but most are intended for smaller candies like M&M’s.
They also tend to be downloadable only as STL files, which makes tweaking them a pain if something doesn’t fit my choco eggs.
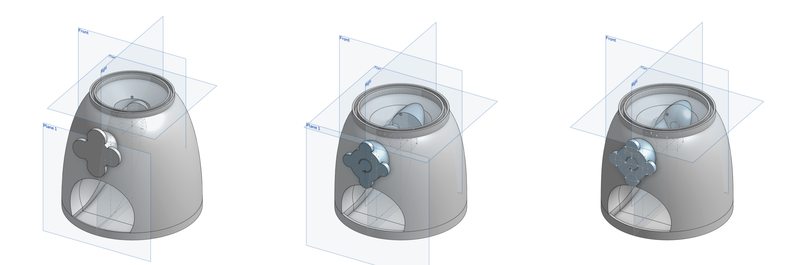
So in the end, I decided to model my own from scratch in CAD.
To make things easier, I just decide to make a plug with a slot.
So, every time I spin it, the slot catches an egg and throw it out when it turns about.
How hard could it be, right? So one night at 3 a.m., unable to sleep, I found myself sitting in front of the computer. By the time I finished the first draft of the design, the sky was already bright. A quick look at the clock: 9 a.m. Apparently it is the perfect time to go to school.
Clutching my freshly minted design, I was itching to print it immediately, but I still need to make a few rounds of small tweaks that morning.
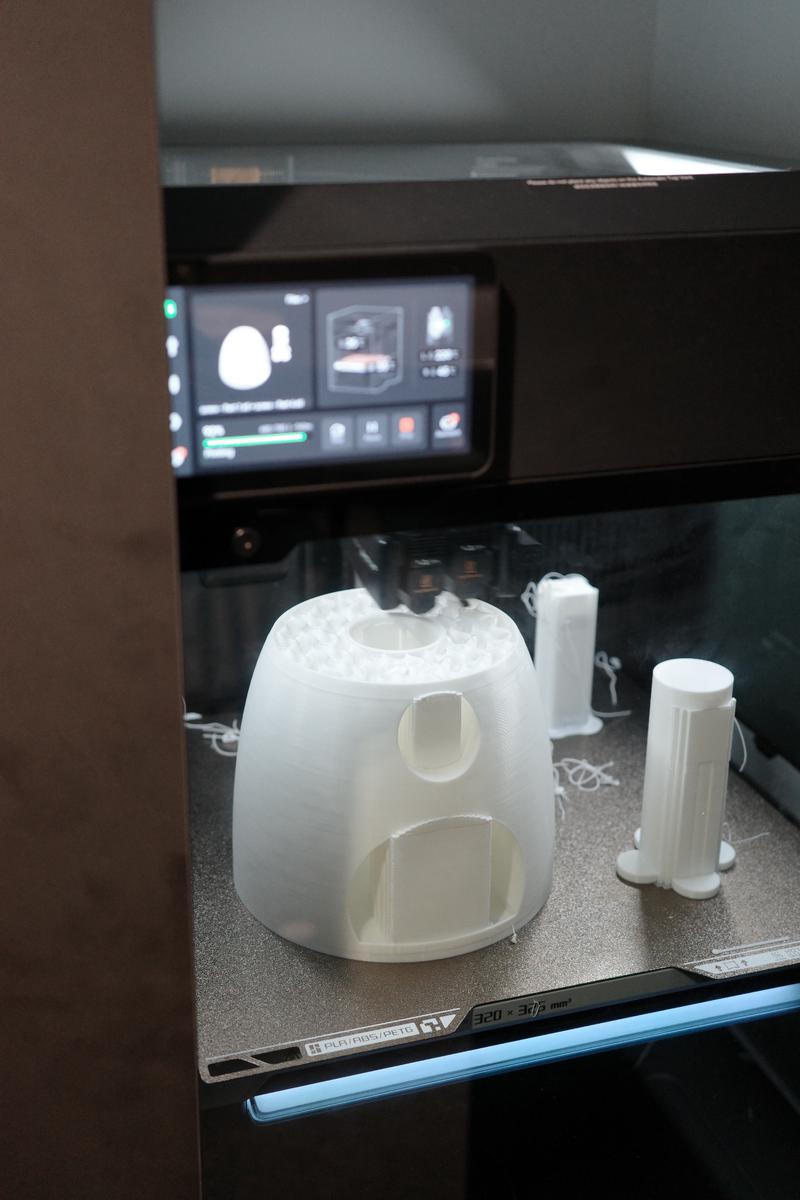
Finally, in the afternoon, full of hope and unrealistic optimism, I handed the model over to the 3D printer.
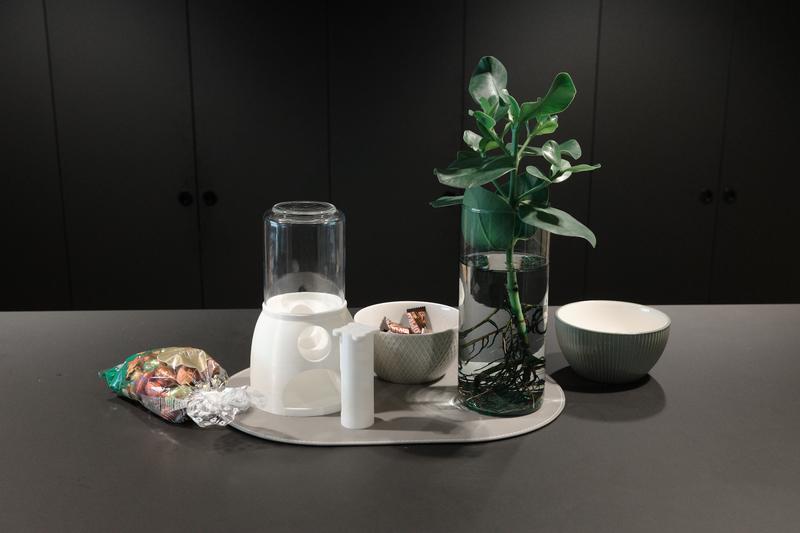
After printing for almost the entire night, the result the next day looked pretty promising I’d say. I dashed out to buy a bag of chocolate eggs, dumped them into the jar, and assembled everything with great enthusiasm. The first egg dropped out, I’d call that a success :) …and then the machine jammed :(
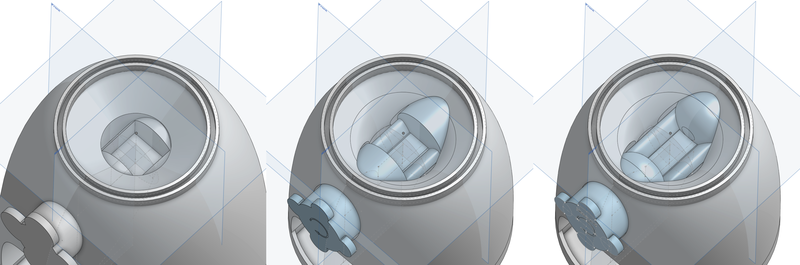
Luckily, it didn’t take long to spot the problem. Sometimes the eggs would get wedged between the sharp edges of the rotating shaft and the base, locking the whole thing solid.
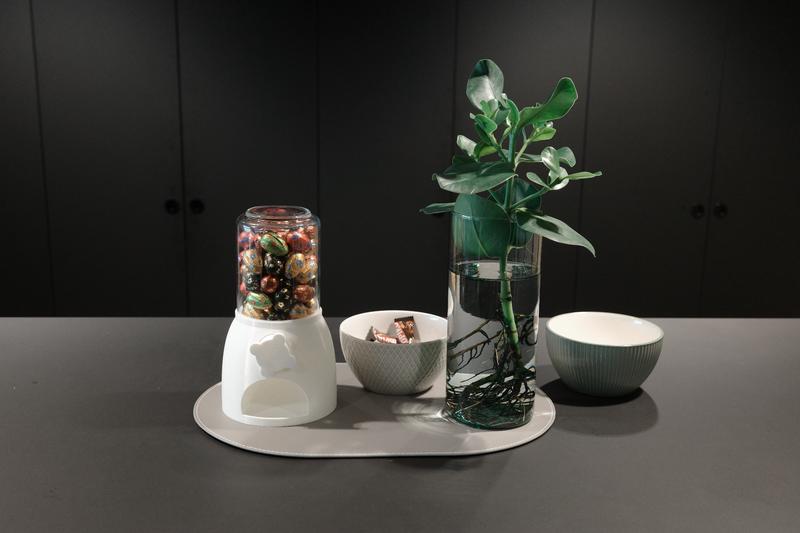
Still, it felt like success was within reach. Armed mostly with gut feeling, I added some chamfers and smoothing to both the shaft and the base. I also shrank the base slightly so the proportions looked cleaner and more balanced.
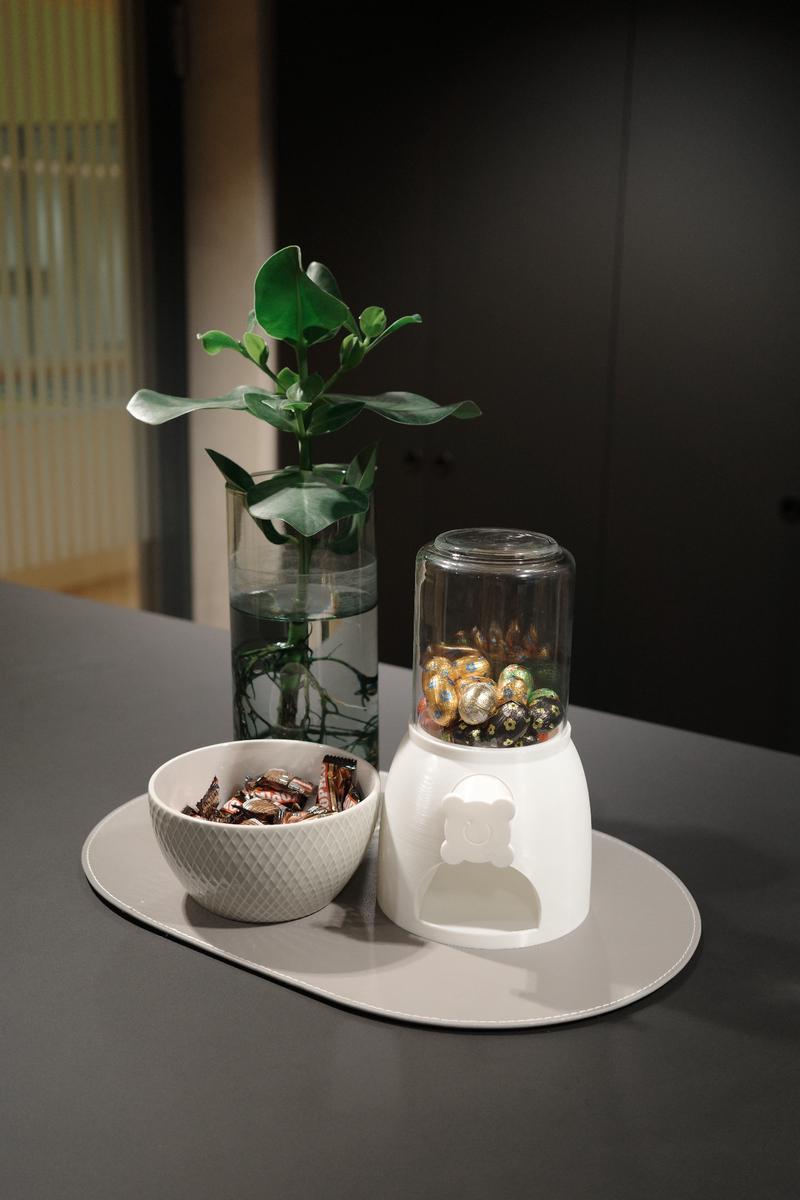
After yet another overnight print session, I finally had the finished version in my hands. And it looks perfect on the table!
I’m also putting my onshape project here. Hope it can be helpful if you want to print your own dispenser.
Enjoy the chocolate, and the dispenser.
Making My Chocolate Egg Dispenser by Desmond Liu is licensed under CC BY-NC-SA 4.0
Back to Stories